Tutorial on the Most Efficient Way to Sew a Vest


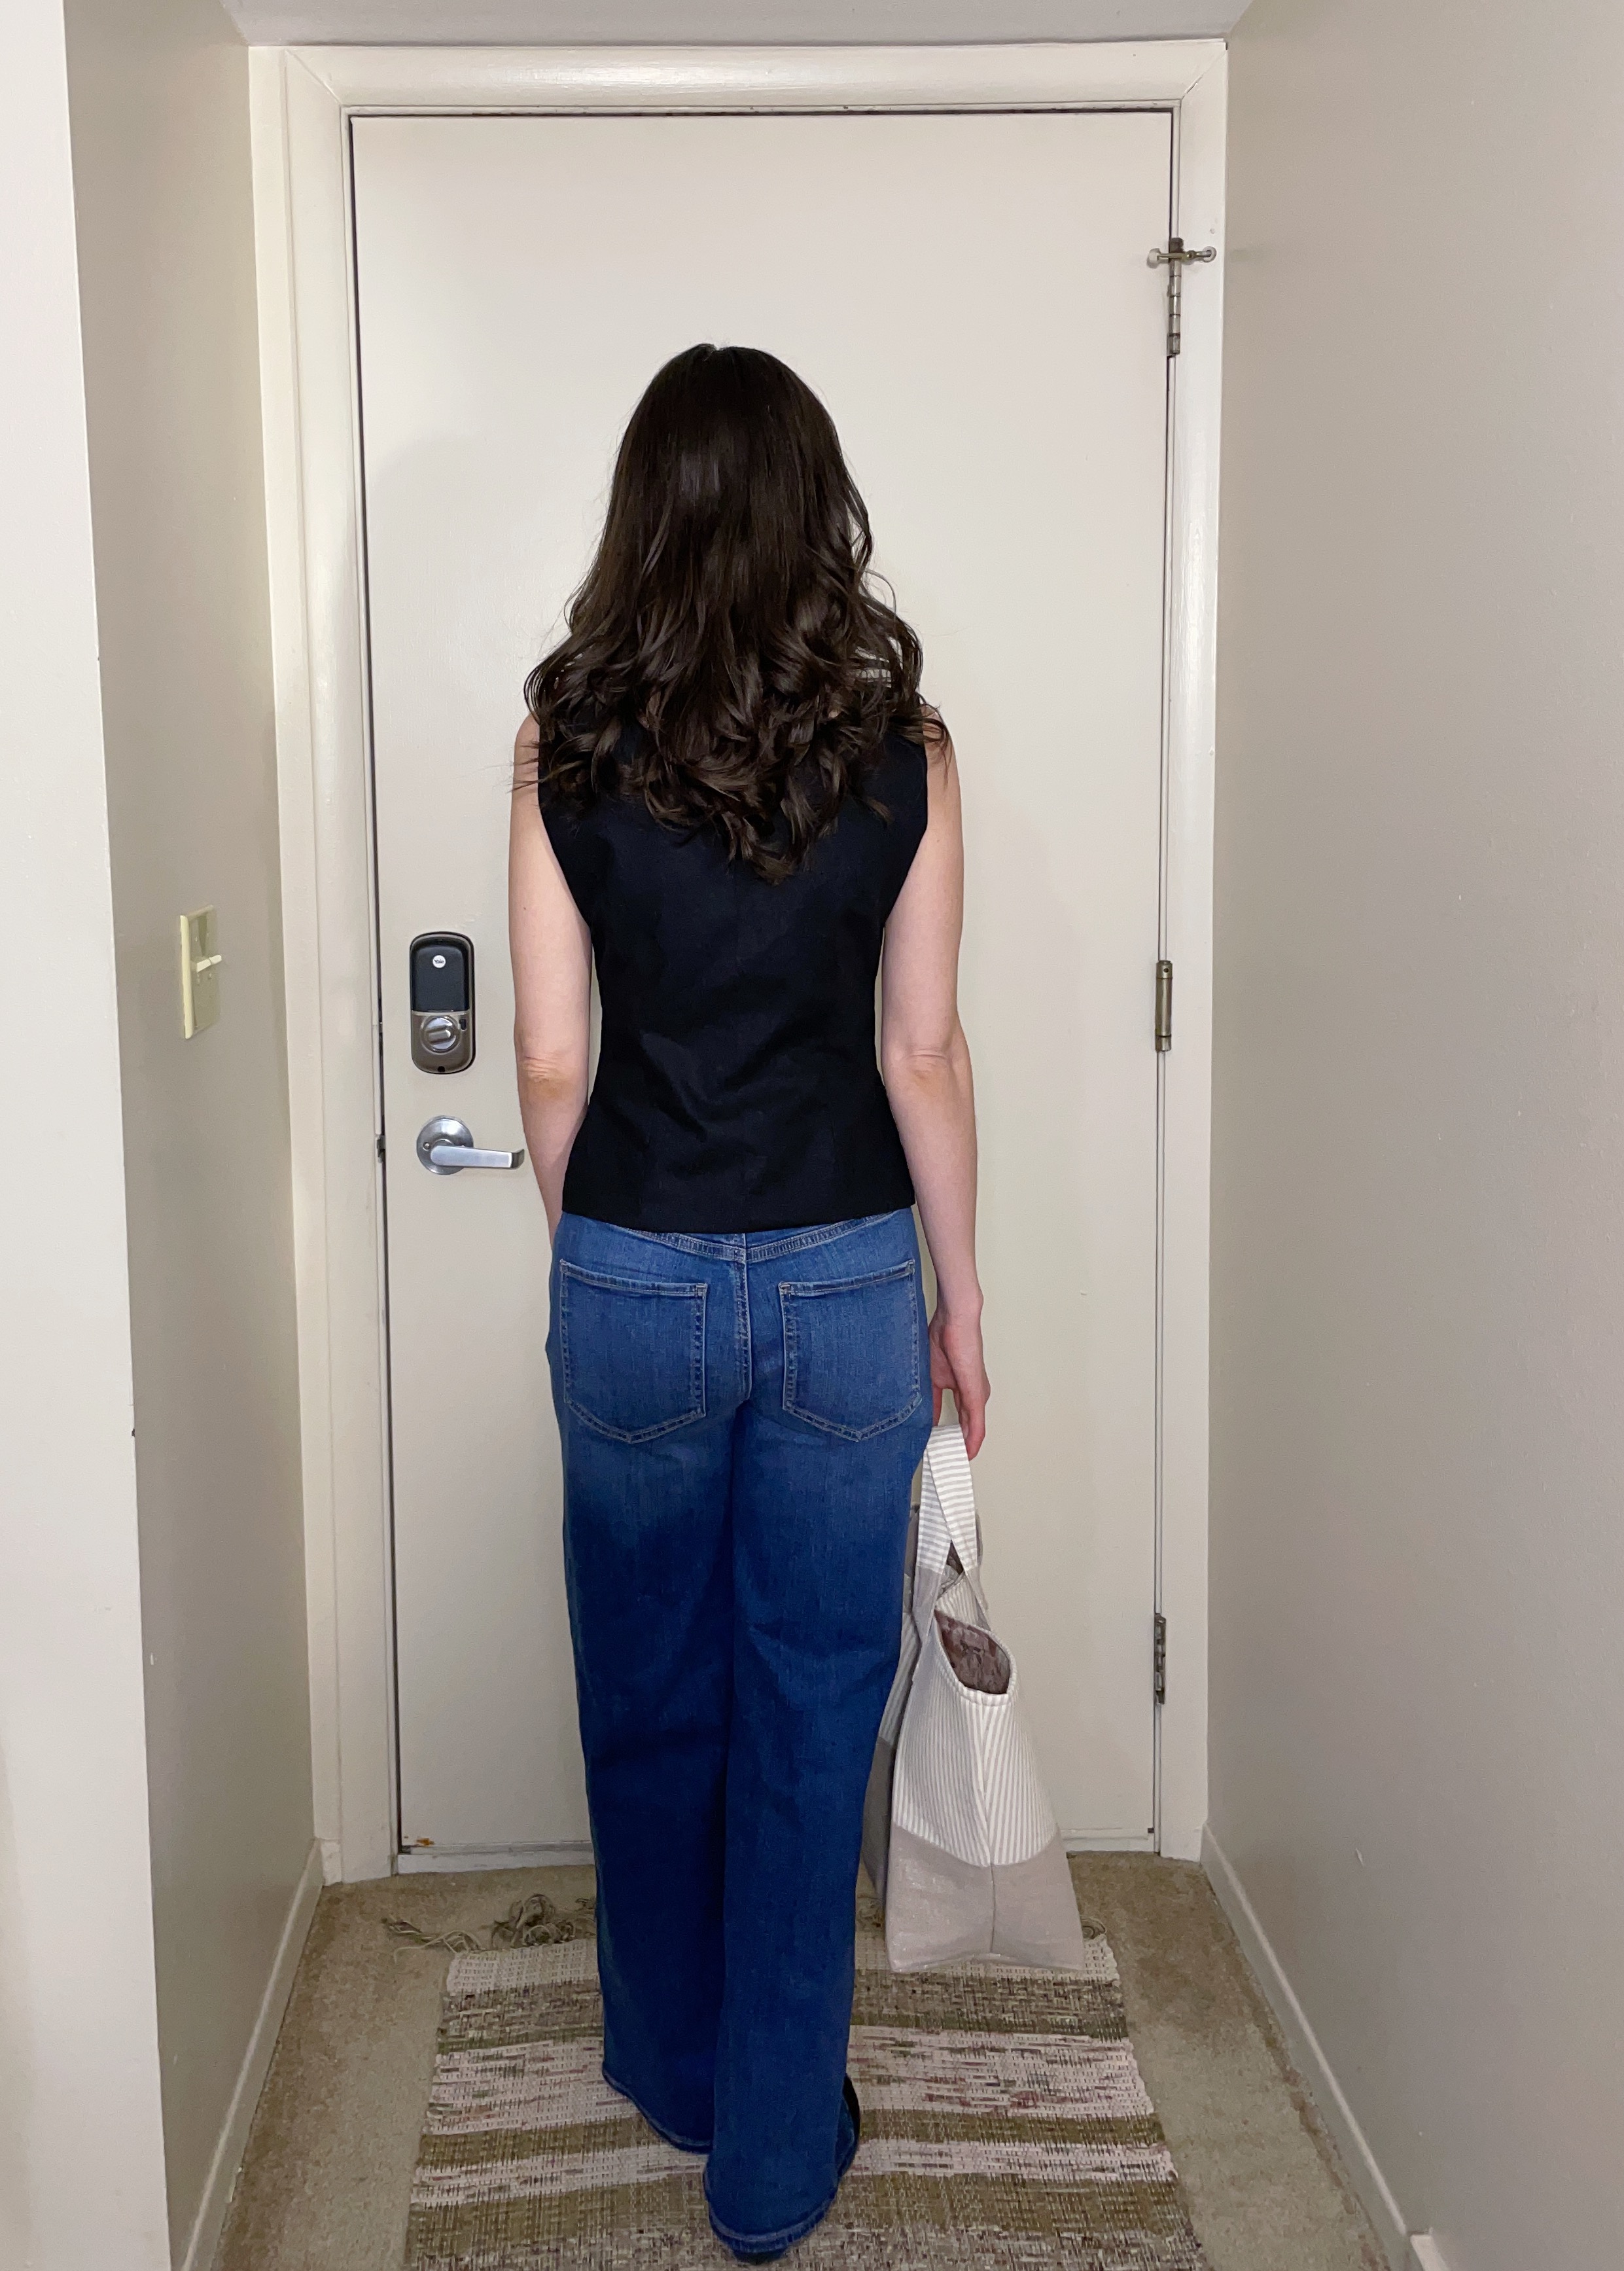


I started seeing this style of top last year all over social media, but much to my confusion, everyone kept referring to them as “blazers.” Maybe I’m too old -fashioned, but to my way of thinking, this is a vest! I used OOP Butterick #4815, which I modified by raising the neckline 1.5”, and adding 2” to the hem (which I also made straight instead of leaving the front pointed).
Anyway, in today’s post, I wanted to share what I consider to be the most efficient want to put a vest (or sleeveless bodice) together. I’ve come across a few different ways, but this is my favorite.
1. Sew the front and side front pieces together.
2. Sew the back and side back pieces together.
3. Sew the front shoulders to the back shoulders (repeat all of these steps for the lining pieces).
4. Iron really well!
5. Placing the pieces right sides together, sew the armholes, front/neckline, and top and bottom (skip top and bottom if making a bodice). The sides should remain open. (see picture below)

6. Right-side out by pulling the front through the side back openings. Iron really well again.
7. Pin the sides of the front to the sides of the back, leaving an opening in the lining of about 5” (it will look like you are sewing a circle). Stitch. (Note: if making a bodice that will attach to a bottom piece, simply pin the front to the back and the front lining to the back lining on each side; sew and press.)
8. Press the side seams, and then slip stitch the lining closed on each side.
Annndd… it’s done! I like this method because it allows any hand stitching to be well hidden, and goes very quickly together. There is another method I’ve used, that has only one seam to hand sew shut, but I like this way for altering the fit better. I have used it on just about every bodice or vest I’ve made (including those for dolls!), and I hope it helps!

